So what started out as an attempt to repair an obvious vacuum side leak has become a much larger project. We were losing over an inch of water a day. Since I have time on my hands these days I decided to tackle what I thought would be a simple repair.
I was able to determine that the skimmer was leaking. So I started digging. I also borrowed a chipping hammer. I broke out all the concrete. Broke the skimmer into several pieces too.
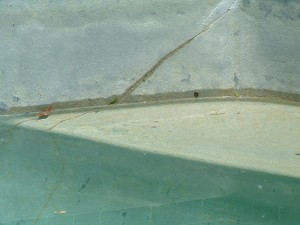
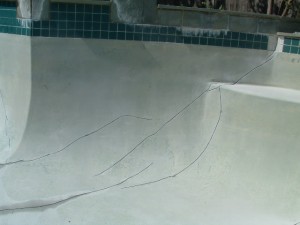
Eventually the water line on the pool was below the bottom of the skimmer, the skimmer was out and the new problems became obvious. Water was still leaking out of the pool at a rapid clip. Look at the photo, there is a crack in the plaster and now with the water below the crack, we can see that water is coming back into the pool through the crack.
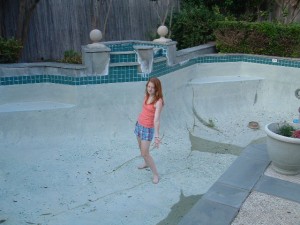
So now I have drained the pool. Look at this photo of my daughter goofing around in the pool, you can see that the water is still coming into the pool.
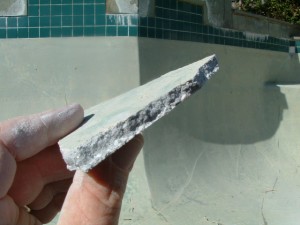
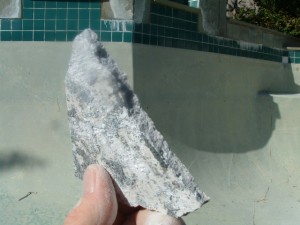
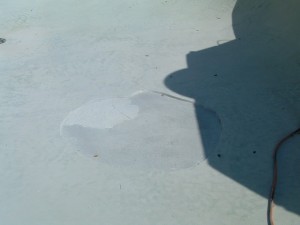
I also found a big blister in the plaster. Here are two photos of pieces I chipped out.
and:
These pieces are about 1/4″ thick. I took a plastic hammer, determined the outside boundary of my plaster bubble and ground and chipped that all out. Here is a photo of the resulting damage:
Sorry about the contrast. It is about 2′ in diameter. The concreate/gunite was all wet and black when first exposed to air, I am guessing that was mould? Today’s weather is bright blue skies and over 100 degrees here in Dallas. The spot dried out quickly.
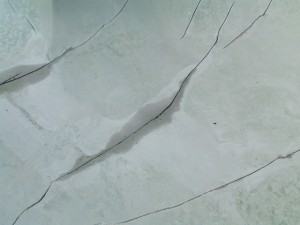
I have ground out all the cracks in the plaster. Again, here are some photos showing my work:
and,
These cracks have been ground out to about 1/2″ depth and are about 1/4″ wide.
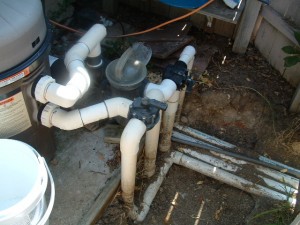
Here is a photo of my plumbing manifold:
I have two vacuum lines. One is from the main drain/skimmer and the other is dedicated for a vacuum cleaner. The two pressure lines are for the return jets and the fountain.
My plan is to separate the main drain and skimmer basket and plumb those separately as the two vacuum lines. I am going to convert the dedicated vacuum cleaner line to a dedicated pressure line so I can hook up a Polaris type cleaner. I have had both cleaners and much prefer the pressure type. I also have an automatic/electric vacuum cleaner that I can use on an occasional basis. It too is a hassle and I look forward to the day it is not my primary cleaner.
If you have made it this far, you’re awesome. I have two questions: first, does my plumbing plan make sense to you; and second, what should I do to resurface the inside of the pool?
I was thinking for filling both the cracks and the uncovered blister area with hydraulic cement and then painting the pool. Or, should I just plaster over the cracks and blister? My plaster is ugly, but it is about 1/4″ thick.
In exchange for advice here in the comments, I will return the favor as I only know how, I can offer advice/counsel/information on kitchen remodeling.
The pool is in Dallas, the soil here is expansive clay. So the cracks are likely to reappear or there are going to be new cracks. We will water the outside of the pool this year in order to minimize ground contraction.
